 Save
Save I remember a rainy Tuesday when the kitchen felt unusually quiet and the air carried a sharp chill. I decided to tackle a massive butternut squash sitting on my counter hoping for something warm. The sound of my knife hitting the board was the only thing I heard as I peeled away the tough skin. By the time the squash was roasting the house smelled like a cozy sanctuary. This soup has since become my go to remedy for grey afternoons.
Last Thanksgiving I accidentally left the soup on the stove for an extra twenty minutes while chatting. It actually made the spices settle in more deeply and the texture became even silkier. Everyone asked for the recipe before the turkey even hit the table. Now I always let it sit for a bit before serving to let those flavors mingle.
Ingredients
- Butternut Squash: Look for one that feels heavy for its size as it usually means it is fresher and more flavorful.
- Yellow Onion: This provides the savory base that balances out the sweetness of the squash.
- Garlic: I like to mince mine finely so it melts right into the sautéed onions without any harsh bites.
- Vegetable Broth: Use a low sodium version if you want more control over the final saltiness of your bowl.
- Water: A little extra liquid helps achieve that perfect pourable consistency without thinning out the flavor too much.
- Coconut Milk or Heavy Cream: This is what gives the soup its luxurious mouthfeel and beautiful pale orange color.
- Maple Syrup: A little bit goes a long way in highlighting the natural sugars of the roasted squash.
- Nutmeg: This spice is the secret to that classic autumn warmth that hits the back of your throat.
- Cinnamon: It might seem like a dessert spice but here it adds a sophisticated woody depth.
- Olive Oil: A good quality oil helps the squash caramelize beautifully in the hot oven.
- Salt and Black Pepper: These are essential for pulling all the different flavor notes together.
Tired of Takeout? 🥡
Get 10 meals you can make faster than delivery arrives. Seriously.
One email. No spam. Unsubscribe anytime.
Instructions
- Prepare the oven:
- Heat your oven to 400 degrees (200 degrees) so it is ready to blast the squash with high heat.
- Roast the squash:
- Toss the cubes with oil and seasoning on a tray then bake until they look golden and feel soft.
- Sauté the aromatics:
- Soften your onions in the pot for a few minutes before adding the garlic for a quick fragrant sizzle.
- Simmer the base:
- Toss in your roasted squash along with the broth and spices to let them get to know each other.
- Blend it smooth:
- Use your immersion blender directly in the pot until the texture looks like liquid velvet.
- Add the creaminess:
- Stir in your choice of milk or cream and give it a final taste to see if it needs more salt.
- Garnish and serve:
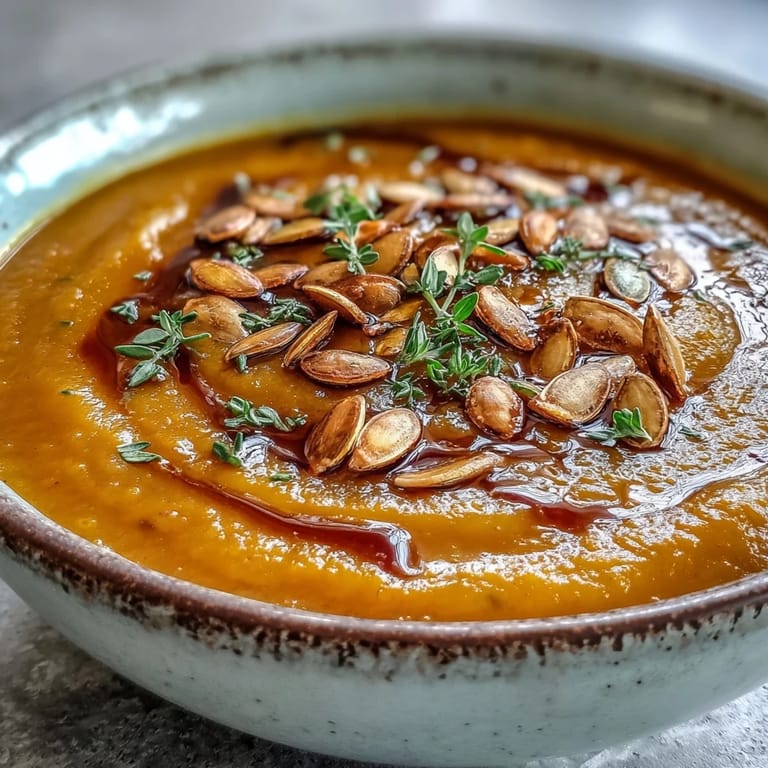
- Ladle it out and add some crunchy seeds or a tiny swirl of syrup for that restaurant look.
 Save
Save  Save
Save I once tried to shortcut this by boiling the squash in the broth directly but it lacked that smoky depth. The extra time spent roasting is truly what transforms this from a basic veggie soup into a masterpiece. Now I never skip the oven step even when I am in a hurry.
Choosing the Best Squash
Selecting the right squash makes a world of difference in the final sweetness. I usually look for a matte skin rather than a shiny one because it often indicates the squash is fully ripe. If the neck is thick and the base is wide you will get much more usable flesh for your effort.
The Blending Phase
Using an immersion blender is one of the most satisfying parts of this process. Watching the chunky vegetables turn into a smooth sea of orange always feels a bit like kitchen magic. Just be sure to keep the blade submerged so you do not decorate your backsplash with hot soup.
Customizing Your Bowl
You can really make this recipe your own by playing with the toppings and textures. A little crunch from toasted seeds or a bit of herb oil can change the whole experience. Here are a few things I like to keep in mind when finishing the dish.
- Toasted pumpkin seeds add a lovely textural contrast to the creamy base.
- A tiny pinch of cayenne pepper can provide a surprising but welcome heat.
- Always serve this with a side of crusty bread for dipping into the bottom of the bowl.
 Save
Save 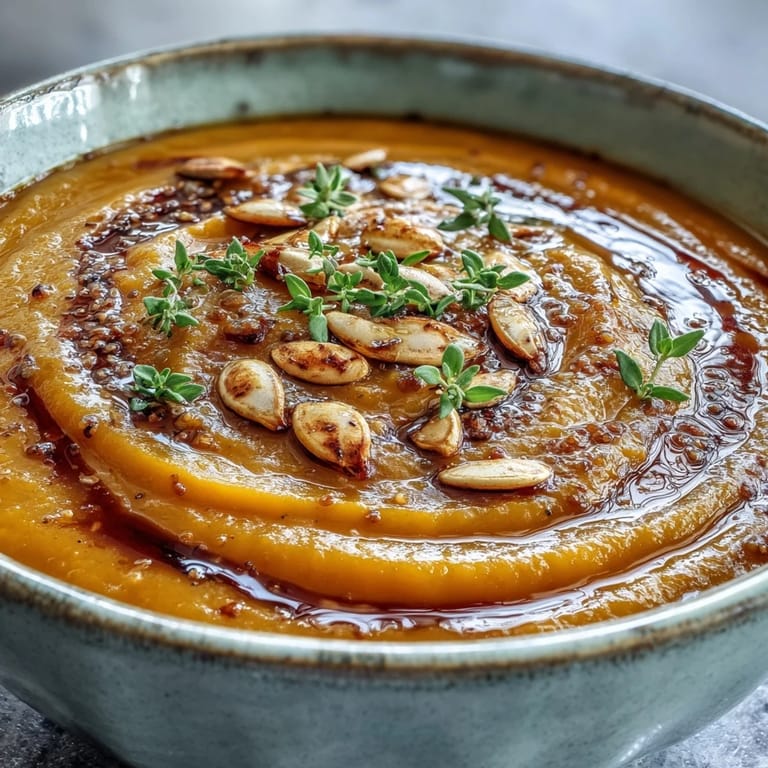 Save
Save This soup is like a warm hug in a bowl that I hope you enjoy as much as my family does. Happy cooking and stay cozy.
Recipe FAQs
- → Can I make this soup ahead of time?
Yes, this soup actually tastes better the next day as flavors have time to meld. Store in an airtight container in the refrigerator for up to 4 days. Reheat gently over low heat, adding a splash of broth or coconut milk if needed to thin consistency.
- → Can I freeze this soup?
Absolutely. Cool completely before transferring to freezer-safe containers. Freeze for up to 3 months. Thaw overnight in the refrigerator and reheat gently. Note that cream may separate slightly upon reheating, but blending briefly will restore smooth texture.
- → What can I substitute for coconut milk?
Heavy cream creates a richer soup, while cashew cream or oat milk work well for dairy-free alternatives. For a lighter version, simply omit the creamy element entirely—the roasted squash provides plenty of velvety texture on its own.
- → Do I have to roast the squash first?
Roasting isn't strictly required but highly recommended. The oven roasting concentrates natural sugars and adds caramelized depth you won't achieve through boiling alone. If short on time, you can simmer raw squash cubes directly in the broth for 20-25 minutes until tender.
- → How can I make this soup more substantial?
Add cooked quinoa, wild rice, or small pasta shapes during the last 5 minutes of simmering. You can also stir in shredded cooked chicken or white beans for added protein. A slice of crusty bread or side salad makes a complete meal.