 Save
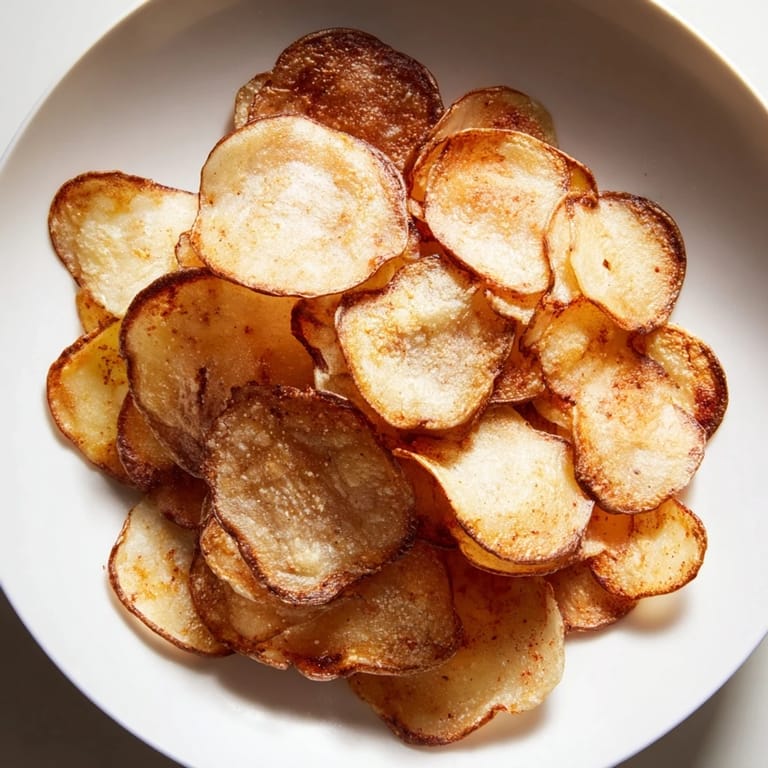
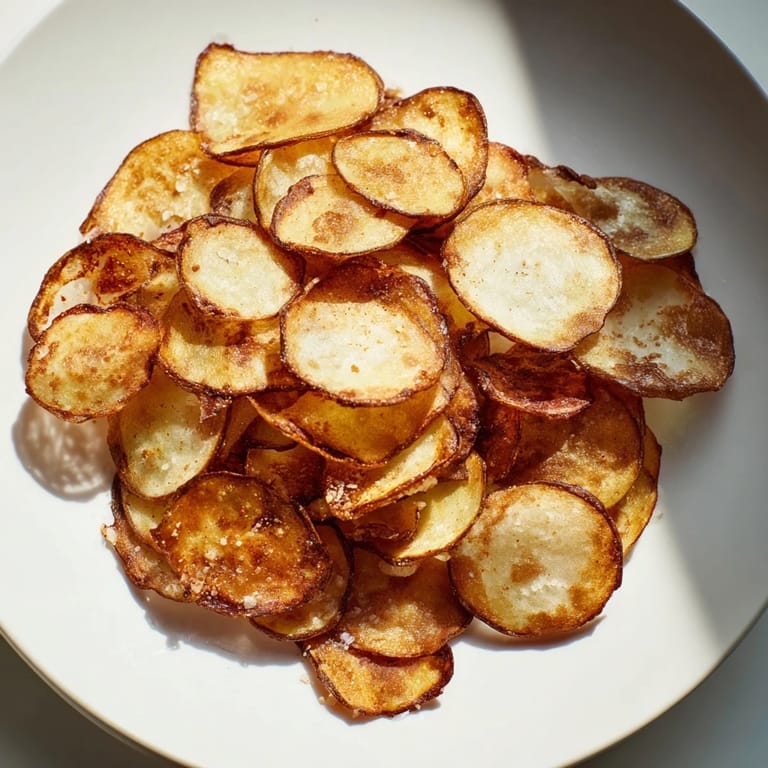
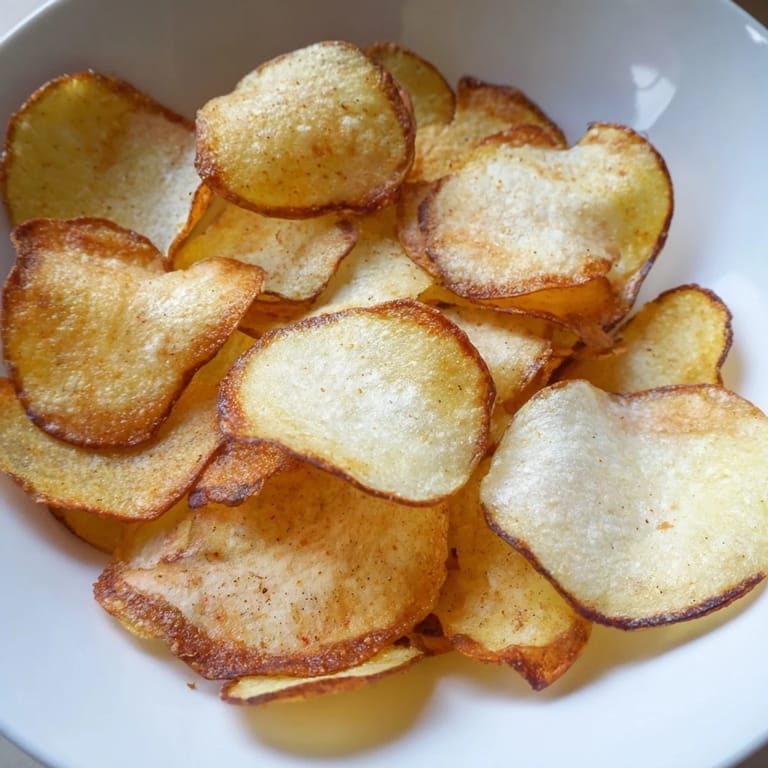
Save My air fryer sits on the counter like a small miracle worker, and the first time I made potato chips in it, I couldn't believe how golden and crispy they turned out without a drop of deep-fried guilt. I'd been buying bags of chips for years, mostly out of convenience, but one afternoon when I was craving that satisfying crunch, I decided to slice up some potatoes and just try it. Twenty-six minutes later, my kitchen smelled like a fancy restaurant, and I was holding a plate of chips that tasted infinitely better than anything from a bag.
I made a big batch for my sister's game night, thinking I'd impress her, and instead I just made a mess of people fighting over the last handful. She kept asking how I got them so crispy without all the oil, and when I explained the air fryer magic, she decided she needed one that week. Now every time she visits, she asks if I made chips.
Ingredients
- Potatoes: Use large russet potatoes for that classic chip texture, though Yukon Gold potatoes will give you a slightly richer flavor if you want to experiment.
- Olive oil: Just a tablespoon goes a long way here; it coats every slice without making things greasy, which is the whole point.
- Fine sea salt: Don't use table salt—it's finer and distributes more evenly, so you won't end up with salt crystals in your teeth.
- Freshly ground black pepper: Optional, but if you use it, grind it fresh; pre-ground loses something in translation.
- Smoked paprika: This is where you can get creative—it adds a subtle depth that makes people wonder what your secret is.
Tired of Takeout? 🥡
Get 10 meals you can make faster than delivery arrives. Seriously.
One email. No spam. Unsubscribe anytime.
Instructions
- Scrub and slice your potatoes:
- Give the potatoes a good scrub under cold water, and decide whether you want to peel them—I usually leave the skin on because it crisps up beautifully and adds nutrients. Use a mandoline slicer set to about 1.5 mm thickness, or go slow with a sharp knife if you don't have one.
- Soak away the starch:
- This is the step that makes the biggest difference, I promise. Cold water for ten minutes pulls out the excess starch that would otherwise make your chips soggy.
- Dry them completely:
- This matters more than you'd think—wet chips will steam instead of crisp, so use paper towels and really press them dry, maybe even pat them twice.
- Toss with oil and seasoning:
- Get your hands in there and make sure every slice gets a light coating of oil and salt; this is where the magic starts.
- Preheat your air fryer:
- Three minutes at 180°C (360°F) might seem unnecessary, but a hot basket makes all the difference between good chips and restaurant-quality chips.
- Arrange and cook:
- Lay the slices out in a single layer—they need air circulation to crisp evenly, so don't pile them up. If your batch is too big, work in two rounds.
- Flip and finish:
- After eight minutes, shake the basket or carefully flip the chips, then give them another 6 to 8 minutes until they're golden and crisp.
- Cool on a rack:
- Transfer them to a wire rack so they cool with air underneath; they'll get even crispier as they cool down, which is when they reach peak crunch.
 Save
Save My nephew walked into the kitchen while these were cooling and grabbed a handful before they were even fully crunchy, and he just stood there eating them quietly, which is how I knew they were good. Sometimes the best part of cooking isn't the perfect result—it's that moment when someone tastes something you made and their whole face changes.
The Magic of the Air Fryer for Snacks
There's something almost alchemical about how an air fryer transforms thin potato slices into chips using just a little oil and hot air circulation. I used to think you needed a deep fryer or at least a pan full of oil, but this method proves you can get that same satisfying crunch with a fraction of the fat. The hot air does the real work, crisping everything evenly as long as you don't overcrowd the basket.
Storing and Reheating Your Chips
Homemade chips are best eaten the day you make them, when they're still at peak crispness, but I've found they keep for about two days in an airtight container if you really need to make them ahead. If they start to lose their crunch—which happens because potatoes absorb moisture from the air—you can give them a quick blast in the air fryer for a minute or two to revive them.
Flavor Variations Worth Trying
Once you master the basic recipe, the seasoning options become endless and honestly more fun than the original. I've done everything from garlic powder and chili powder to a ranch seasoning mix, and every variation feels like a new discovery.
- Sprinkle seasonings on after the oil but before air frying, so they stick properly.
- Garlic powder and a pinch of cayenne give you a spicy-savory chip that's dangerously addictive.
- A dusting of nutritional yeast and salt creates something almost cheesy-tasting without any dairy.
 Save
Save These chips taught me that sometimes the best kitchen wins aren't elaborate meals—they're simple things done right that make everyone happy. Make a batch and see what I mean.
Recipe FAQs
- → How thin should potato slices be?
Slices should be about 1.5 mm thick for even cooking and crispiness. A mandoline slicer helps achieve consistent thinness.
- → Why soak potato slices before cooking?
Soaking removes excess starch from the potatoes, preventing them from sticking together and helping achieve a crisp texture.
- → Can I use different potato types?
Yes, russet potatoes are ideal, but Yukon Gold also works well and imparts a slightly creamier taste.
- → What seasonings complement these chips?
Simple salt and pepper work well, while smoked paprika, garlic powder, or chili powder add flavorful twists.
- → How do I store leftover chips?
Store cooled chips in an airtight container for up to two days to maintain their crispness.
- → Can I skip peeling the potatoes?
Peeling is optional; leaving skins on adds texture and nutrients but may affect crunchiness depending on personal preference.